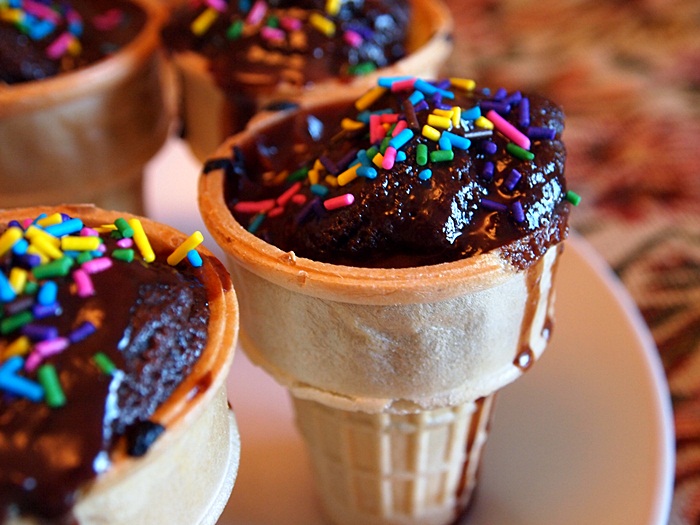
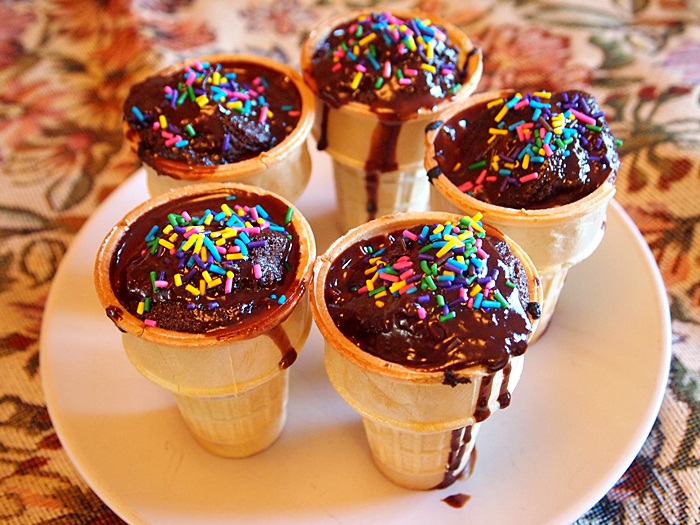
Well, summer is most definitely over by now. It’s colder in the evenings and even during the day. I had some ice cream cones left from the summer but of course no ice cream. While I agree that ice cream is a great thing regardless of the season I wasn’t planning on buying a bucket of ice cream just to be able to use the cones, so I made a different kind of “Ice Cream”. I made a cake batter and poured it into the ice cream cones. I then baked it and added chocolate on top and voila! I got the ice cream look with the taste of chocolate and a lot less mess. The kids loved it and I was even happier to see their clean placements on the table after they were done.
This recipe can be used for just a regular chocolate cake in a small bake pan or for more ice cream cones. I’m not sure about the size because I made 8 cones and used the rest of the batter for a mini cake in a 7 inch pan.
- ½ Cup Sweetened/ Unsweetened Cocoa Powder (You can also mix the two)
- 1 Cup All Purpose Flour
- ¼ tsp Baking Soda
- 1 tsp Baking Powder
- 1 Cup White Sugar
- 1 Egg
- ½ Cup Vegetable Oil
- 1 Cup Hot Water
- 8 Ice Cream Cones (small ones with flat bottom)
- ½ Cup Heavy/ Whipping Cream
- ¾ Cup Semi Sweet Chocolate Chips
- Preheat oven to 350F (175C)
- Mix all the cake ingredients together
- Pour about ¼ cup (until cone is ¾ full) of cake batter in each cone. Pour the rest of the batter into additional cones or into a 7 inch (18cm) greased baking pan.
- Place the cones standing (preferable in a deep baking pan to avoid falling) and gently place in preheated oven. Place the 7 inch cake in the oven as well (or you can bake it later when cones are ready).
- Bake for about 35-40 minutes.
- Wait until the cakes (cones) are cool and prepare the coating.
- Simmer heavy cream in saucepan
- Add the chocolate chips in while simmering and stir really well until fully molten.
- Remove from heat and pour about 1-2 teaspoons on each cooled ice cream cone. Decorate with coconut or sprinkles.


